— Blog
How to Bleed a Radiator Safely: Step-by-Step Guide for Homeowners
How to bleed a radiator: a safe, step-by-step guide
If your radiators are cold at the top, gurgling or providing uneven heat, learning how to bleed a radiator can restore circulation and improve performance. This straightforward maintenance task is something many Hampshire homeowners can do themselves — provided they follow the correct safety steps and know when to stop and call a professional.
How to recognise radiators that need bleeding
Air can collect in a central heating system over time, particularly in hard water areas where corrosion and sludge are more common. Trapped air prevents hot water from circulating properly. Typical signs that a radiator needs bleeding include:
- Radiator warm at the bottom but cold at the top after the heating has been on
- Gurgling, bubbling or hissing noises from radiators or pipework
- Uneven heating across the home, with some rooms noticeably cooler
Note: if a radiator is hot at the top but cold at the bottom, that usually indicates sludge or debris rather than air. Bleeding will not resolve sludge; the system may need cleaning or a powerflush.
Tools to prepare before you start
You do not need specialist equipment, but preparing the right items beforehand avoids scrambling when water appears:
- Radiator key (or a flathead screwdriver for some modern bleed valves)
- Old cloth or towel to catch drips and protect flooring
- Small container or jug to collect water from the bleed valve
It’s also helpful to know where your boiler pressure gauge and filling loop are located so you can check and top up pressure afterwards if needed.
Step-by-step: how to bleed a radiator safely
-
Turn the heating off and let radiators cool.
Switch off the central heating at the programmer or boiler controls and wait until radiators are cool or only slightly warm. This reduces scald risk and helps trapped air collect at the top of the radiator.
-
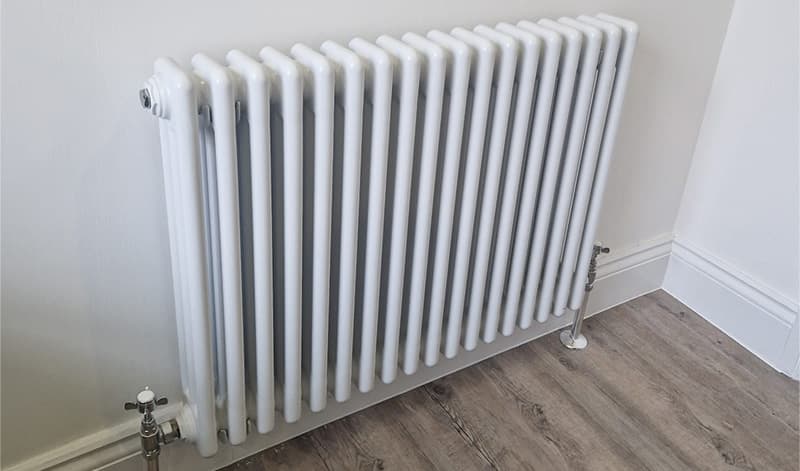
Locate the bleed valve.
The bleed valve is usually a small square or slotted pin at the top corner of the radiator, often opposite the thermostatic valve. Place your towel under the valve and position the container to catch any water.
-
Open the bleed valve slowly.
Fit the radiator key on the square pin (or use a screwdriver if required). Turn anti‑clockwise very slowly, only a quarter to half a turn. You should hear air escaping with a hissing sound. If water sprays out under pressure immediately, close the valve and recheck that the heating is off and the system has cooled.
-
Release air until you see a steady stream of water.
Keep the container under the valve while air hisses out. After a short time you’ll see water begin in spits and splutters; once a steady, smooth stream arrives with no more air, the radiator is bled. This usually takes only a few seconds per radiator.
-
Close the bleed valve firmly — but not overtightened.
Turn the key clockwise until snug. Wipe away any drips and repeat the process for other radiators that feel cold at the top, generally starting with those furthest from the boiler or on upper floors.
-
Check boiler pressure and top up if needed.
Bleeding radiators on a pressurised combi or system boiler can reduce system pressure. Check your boiler gauge once finished — most manufacturers recommend around 1.0 to 1.5 bar when the system is cold. If pressure is low, use the filling loop following your boiler manual to top up. If you’re unsure how to do this, contact a qualified engineer.
When you should not bleed a radiator
Bleeding is not the solution for every heating issue. Avoid bleeding if:
- Radiators are cold at the bottom and hot at the top — likely sludge rather than air
- Your sealed, pressurised system is losing pressure rapidly
- There are visible leaks from pipework, radiators or valves
- You do not know where the filling loop is or how to use it safely
In these situations, bleeding can make the problem worse. Rapid pressure loss can indicate a leak or failing component, and sludge requires system cleaning, a magnetic filter and inhibitor chemicals to protect the boiler and pipework.
Troubleshooting common problems after bleeding
-
Over-bleeding and low pressure:
If you leave the bleed valve open too long you may release water as well as air, dropping boiler pressure. If the heating stops after bleeding, check the gauge and top up carefully if required. Frequent need to top up suggests a leak or fault.
-
Snapped or corroded bleed screw:
Older systems in hard water areas can have brittle or corroded screws. If a screw snaps or will not seal, turn the heating off, contain any drips and call an engineer to replace the valve safely.
-
Noisy pipes after bleeding:
Some ticking as pipes expand is normal, but loud banging or ongoing gurgling suggests persistent air or circulation issues. Try bleeding top-floor radiators again; if noise persists, the system may need balancing, cleaning or further diagnosis.
Simple steps to protect your heating system
Regularly bleeding radiators is a useful maintenance habit, but it’s only one part of keeping your heating efficient — especially in hard water areas like Hampshire where limescale and sludge build up faster. Annual boiler servicing, correct inhibitor use and fitting a magnetic filter when needed will extend system life and help avoid breakdowns.
Need help with radiators or boiler issues?
If bleeding does not solve the problem, or you’re worried about persistent low pressure, leaks or cold patches, get a professional to diagnose the system. MBW Plumbing & Heating can help with radiator faults, system cleans and regular boiler servicing. To book a service or request a visit, book a boiler service or view our boiler service plans. For a prompt consultation in Hampshire, contact us or call 07712 508313.
— Other Articles